

NiroHelp gives you three ways to categorize content. Two of them apply to docs:
- Topics – nested, docs only. These are the chapters and sections of your knowledge base.
- Products – flat, shared by docs and tickets. Use them when several product lines live on one site, so an article or a ticket can be tagged with what it is about.
The third, Reasons, is for tickets only and is covered in Reasons.
Topics
- Go to NiroHelp → Topics.
- Click Add New Topic.
- Give it a name – Getting Started, Billing, Integrations.
- Optionally pick a parent topic to nest it underneath another.
- Click add new topic.
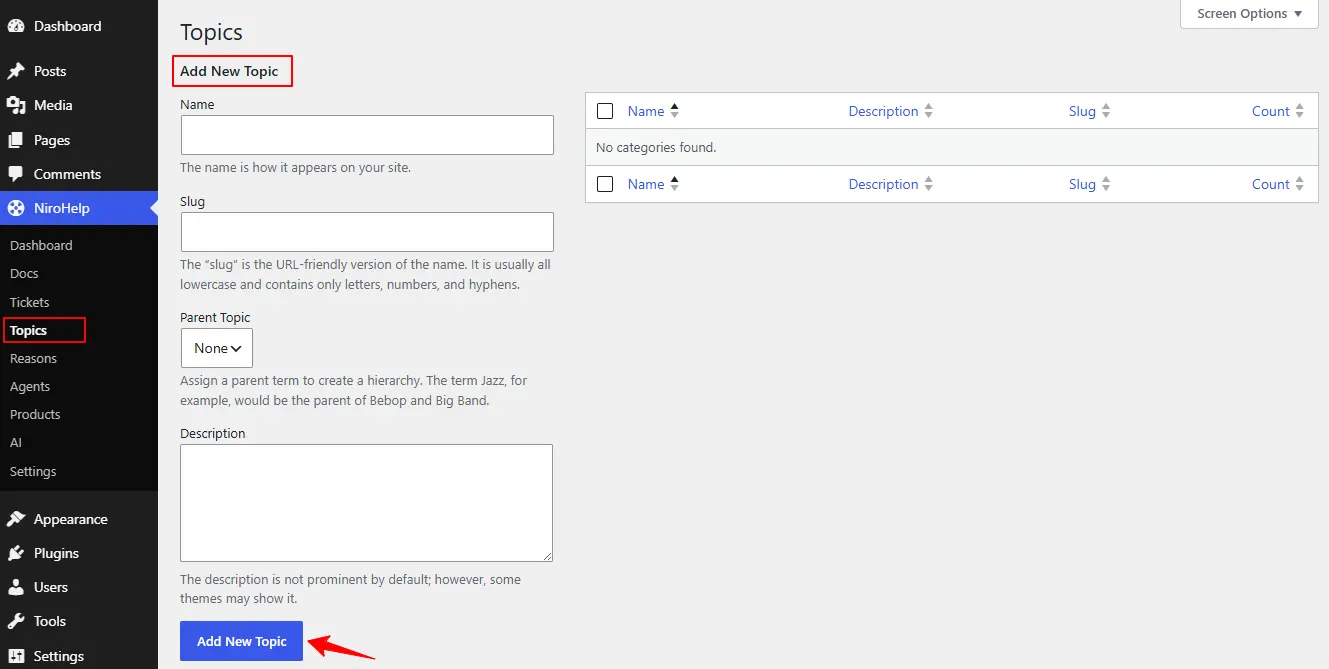
Topics keep the order you set by dragging them, so your archive follows your structure rather than the alphabet. Nested topics let you build addresses like /docs/billing/refunds/ when your URL structure includes the topic.
Products
- Go to NiroHelp → Products.
- Click Add New Product.
- Give it a name.
- Click add new product.
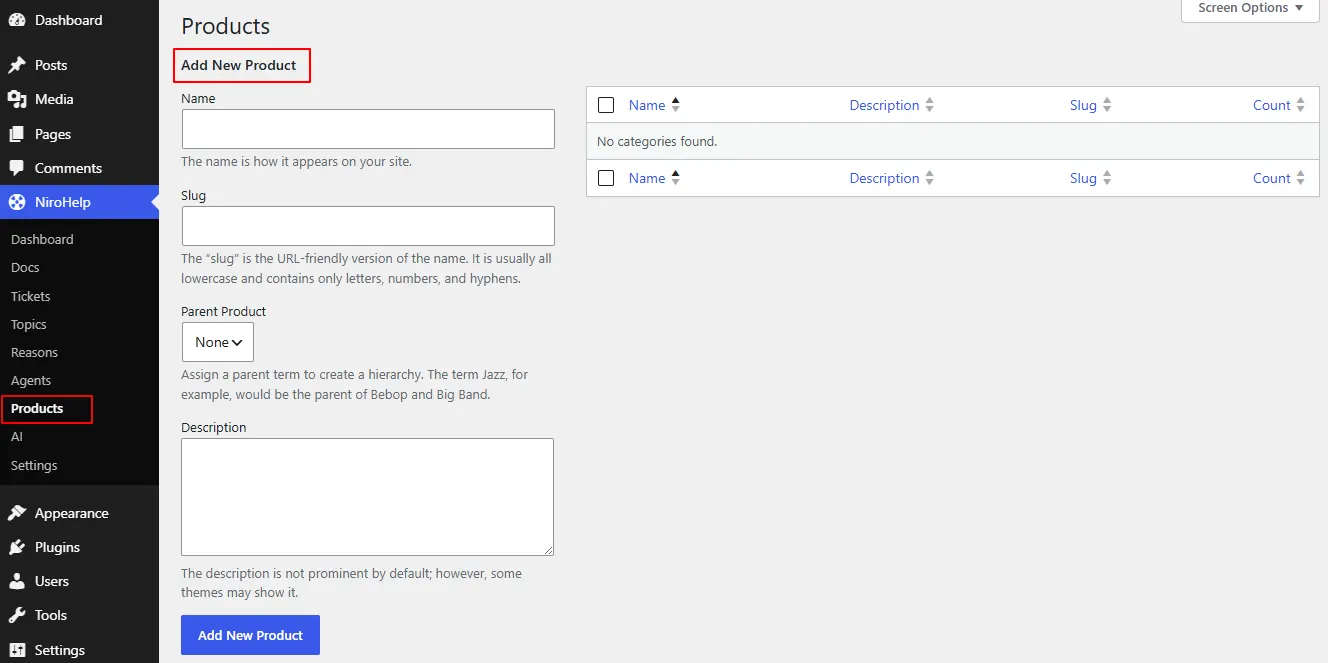
Products are flat – no parents, no children. They can be assigned to:
- Docs, in the doc editor
- Tickets, in the ticket editor and on the public new-ticket form
Why this matters for addresses
If your doc URL structure includes the topic – docs/<topic>/doc-slug – then every doc needs at least one topic. When a doc has more than one, the first one assigned is the one used in the address. The same rule applies to product-based structures. See Doc URLs.
Showing only one product’s docs
The docs shortcode takes an optional product attribute, so you can put a
product-specific archive on its own page:
[[nirohelp_docs product="42"]]
It takes the product’s ID number, not its name. To find the ID, go to NiroHelp → Products and hover the product – the number appears at the end of the edit link.
Only docs tagged with that product are shown, still grouped by topic.
Was this doc helpful?